Idea
Brand Swag is a website to consolidate swag from popular brands in one place.
The project started as a spreadsheet in
Airtable and was initially self-serving, as I found it unnecessarily difficult to track down swag from the brands I use on a daily basis.
For example, if you search "
trello swag" on Google, all you'll find is a bunch of random Trello boards containing the word "swag".
I found this not only annoying, but very time consuming and thought other people might have the same problem.
So of course, like any self-proclaimed "maker" would do, I decided to build a site to solve it.
Validation
Before I got too deep into the project, I wanted to see if my problem had already been solved. So naturally, my first instinct was to check
Product Hunt. The closest thing I found was
Swag for Dev.
This was a collection of opportunities for developers to win swag by completing various challenges, ranging anywhere from submitting surveys and sending an email to fixing bugs for NPM and publishing an Alexa skill that gets used by 1,000 unique customers in its first 30 days.
Definitely a cool idea, but it didn't seem to solve my problem.
Based on the reaction from the community, I could tell:
1) other people had the same problem &
2) there was validation for the idea.


Okay, maybe I'm onto something. 🧐
I quickly shared the Airtable database on Twitter and a Slack group and got a little initial feedback.

Then I got to work designing a basic wireframe.
Design
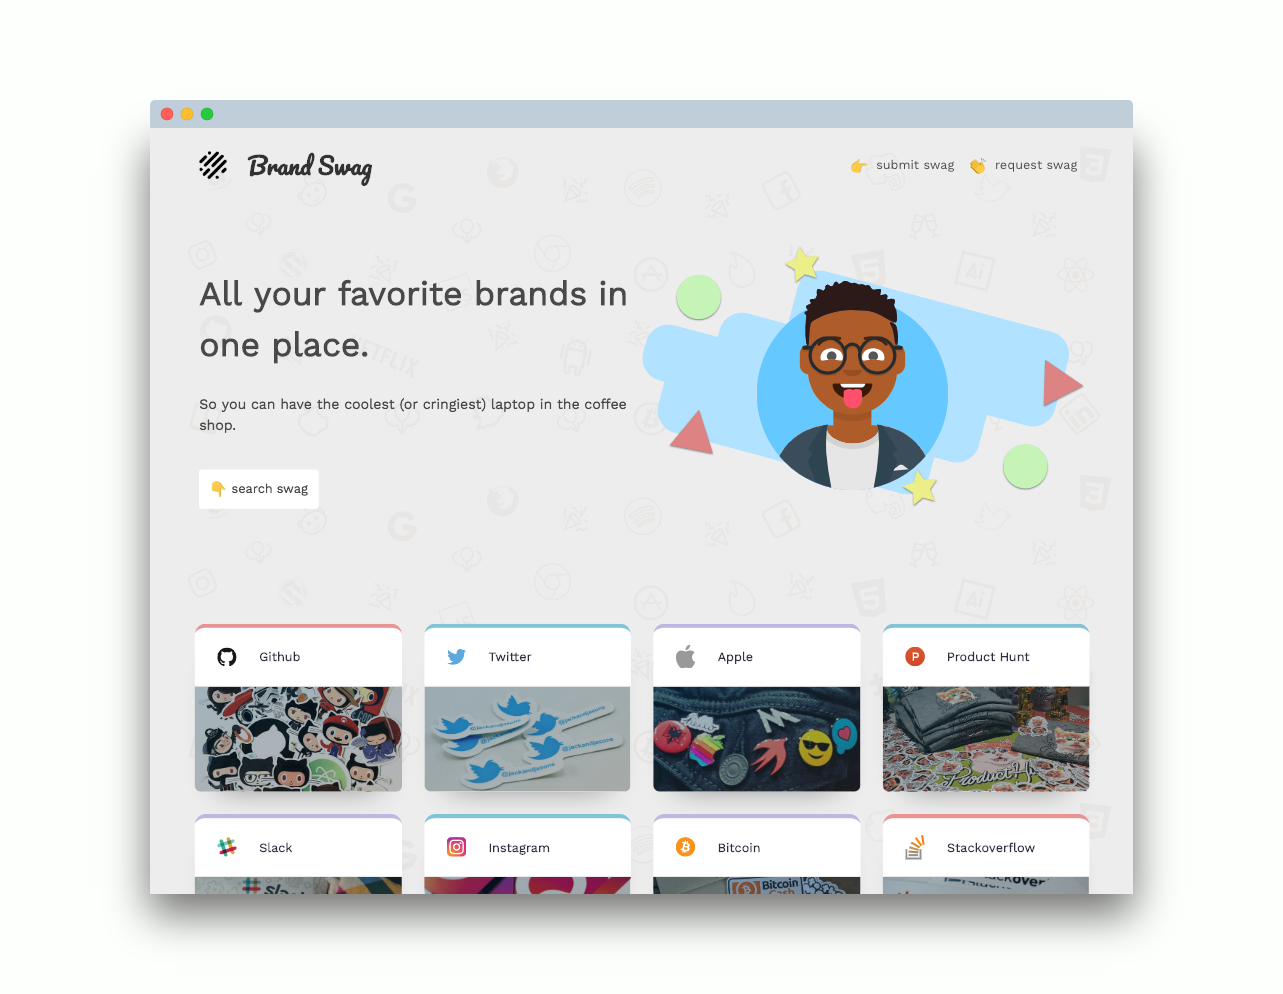
I wanted the site design to achieve 2 things:
1) Put the brands in the forefront.
2) Make it easy to filter brands with tags.
To achieve my first goal, I settled on keeping the entire directory of brands on the homepage.
Here's a quick mockup I came up with:
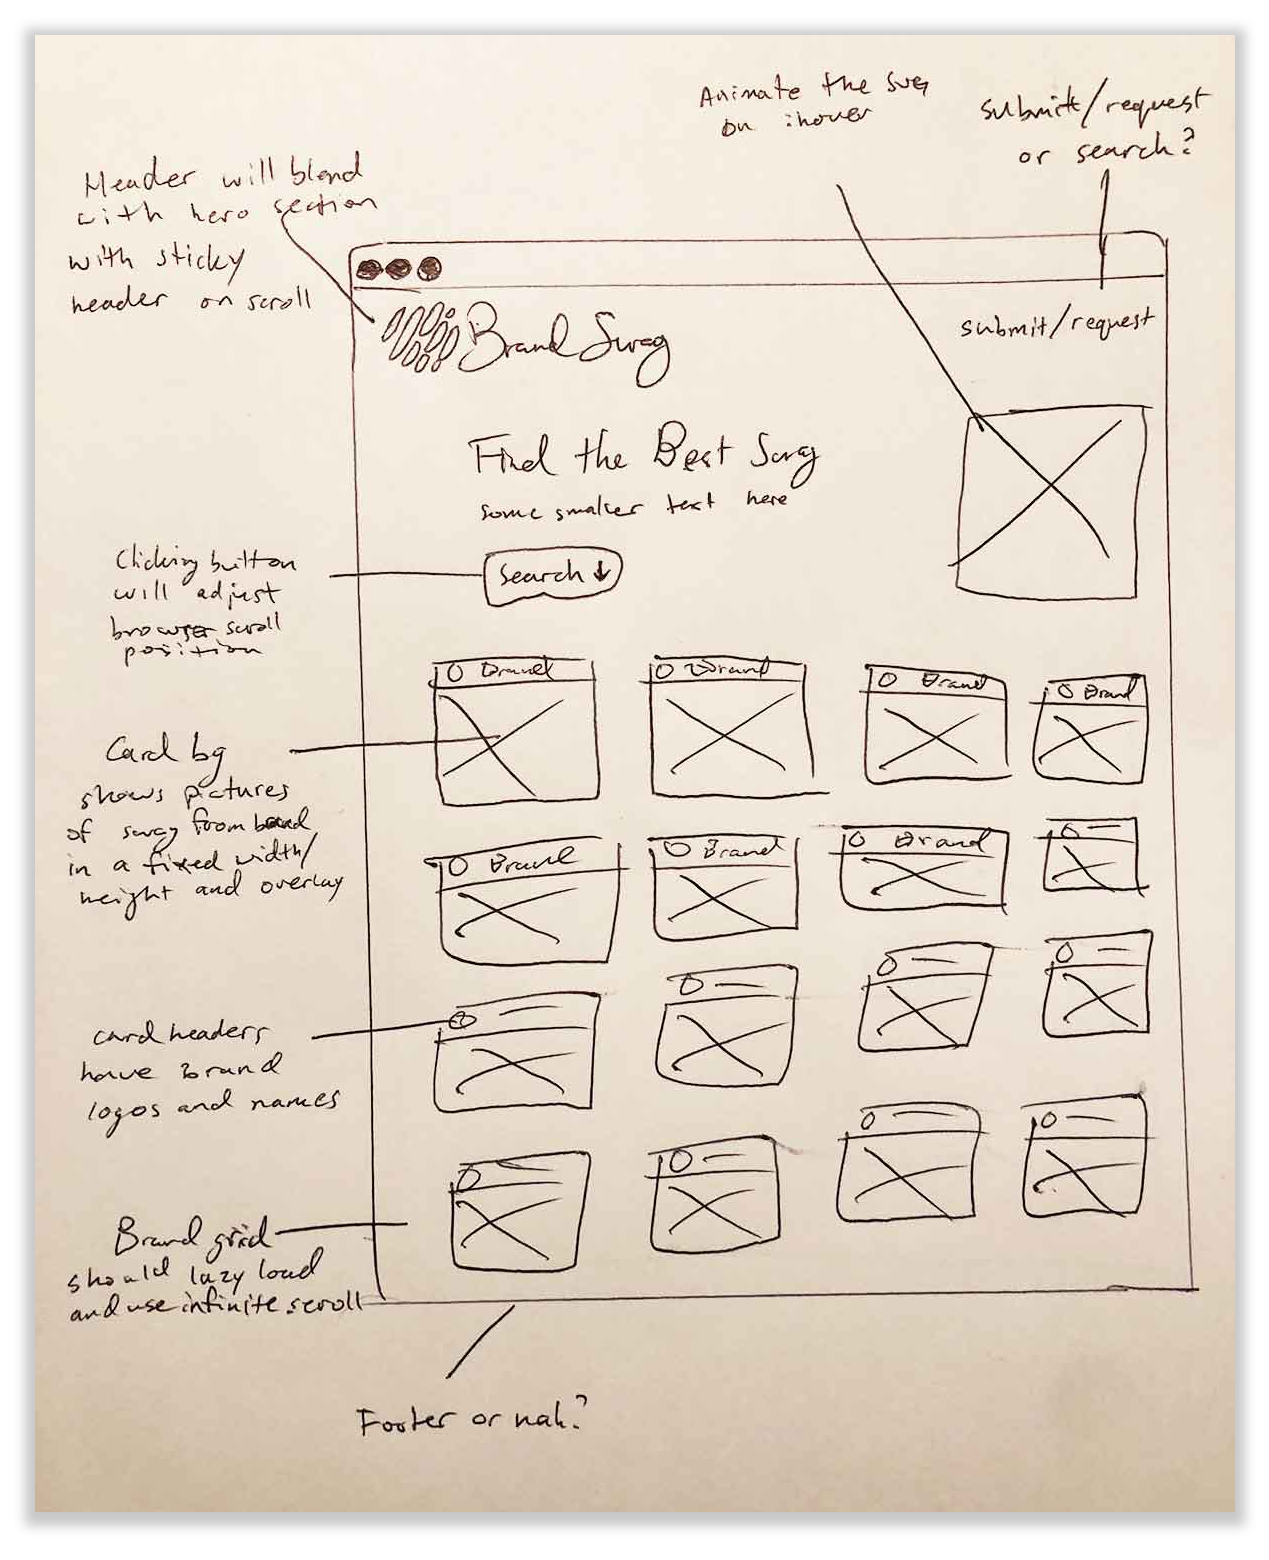
Pardon my chicken scratch 😂
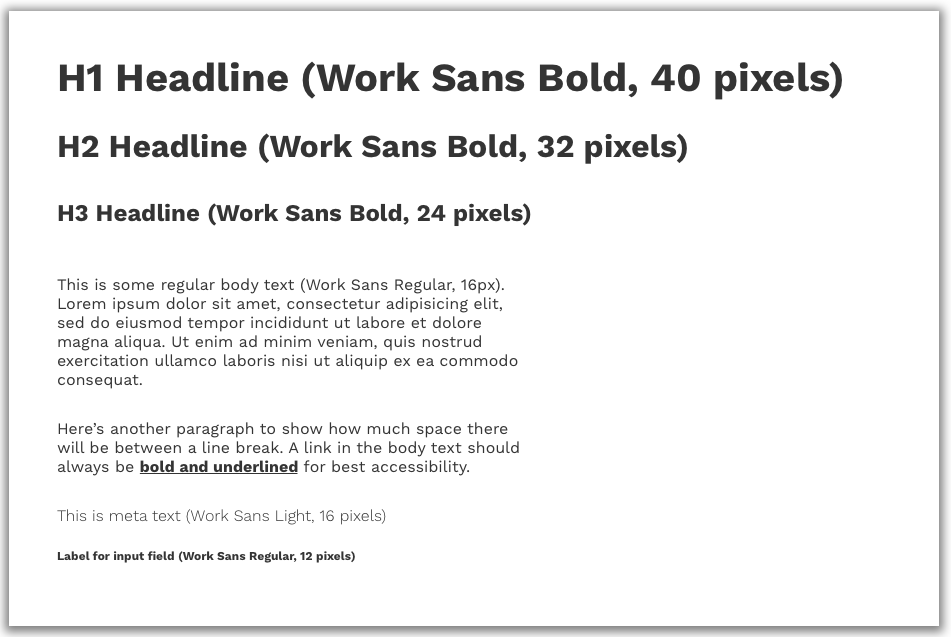
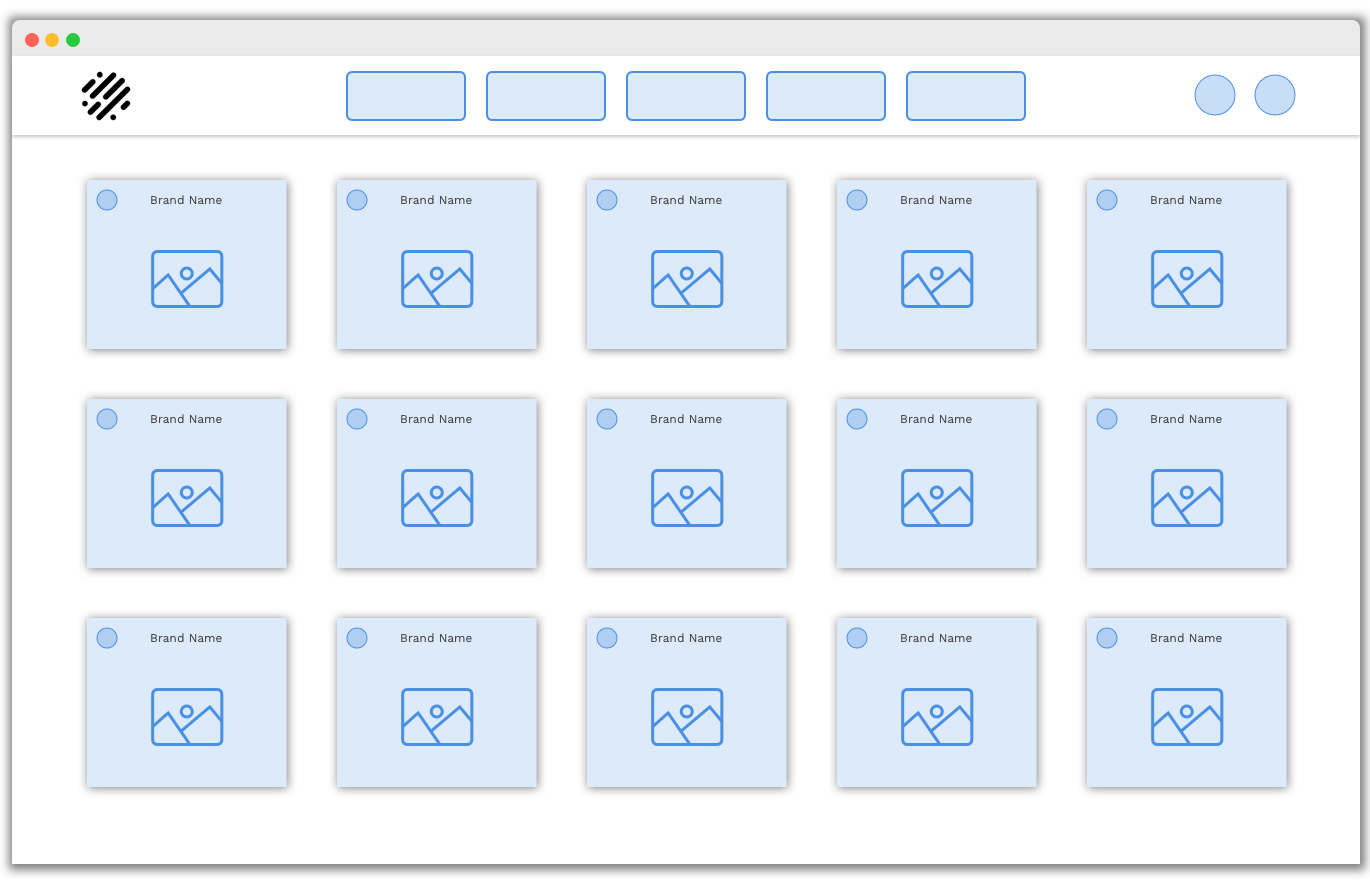
Then I got to work turning this into a wireframe in Sketch with brands assets and text styles.
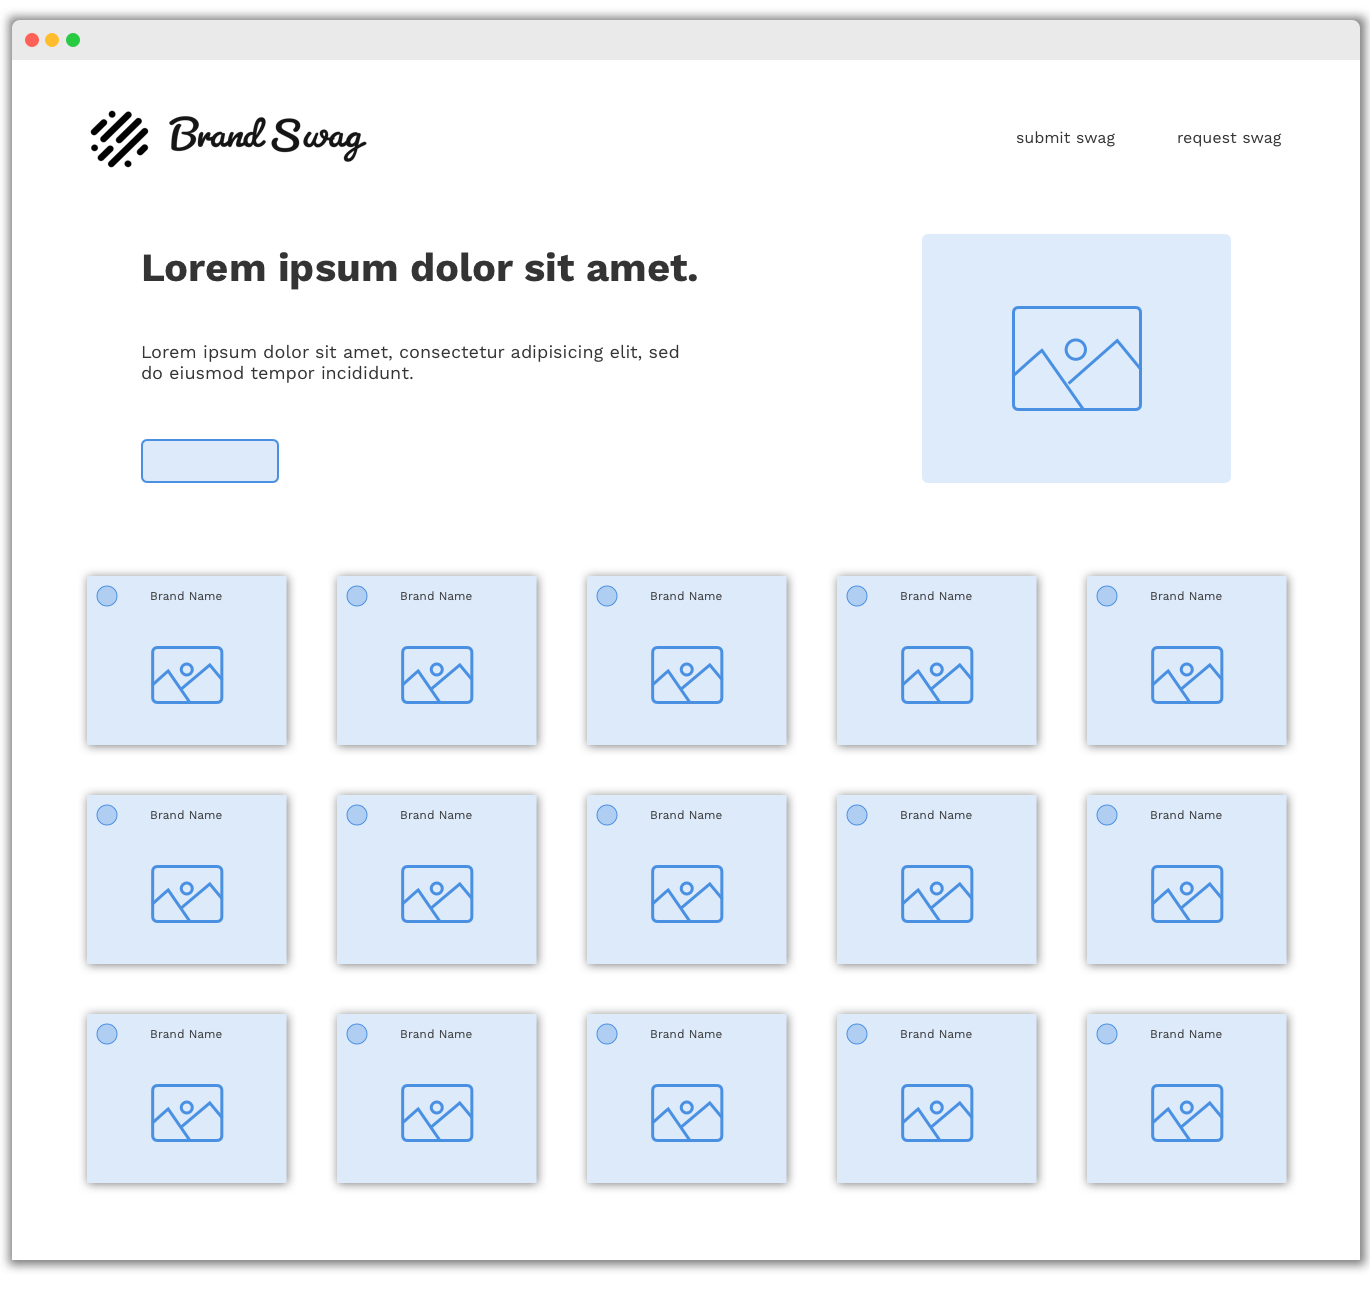
Looks good, but I was still left with the challenge of designing the filter functionality.
I took some inspiration from
Nomad List because I didn't want to clutter the navigation with the filter options.
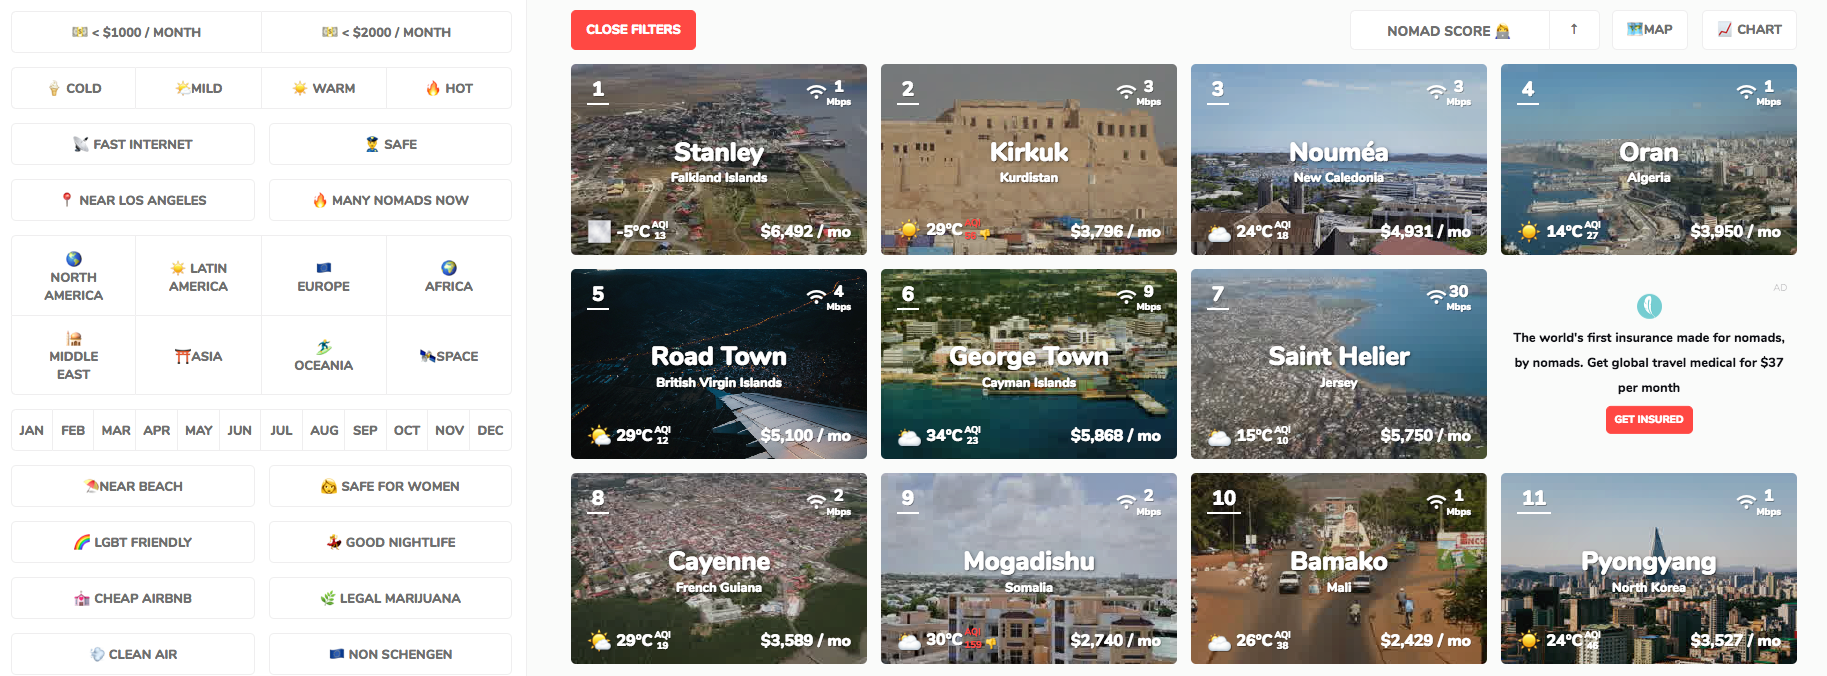
But I also didn't have as many options, so I didn't need to hide them behind a retractable sidebar.
Instead, I decided to add the filters to a sticky header that appeared when the user's scrollbar reached the brand directory.
I then got to work designing the single brand view.
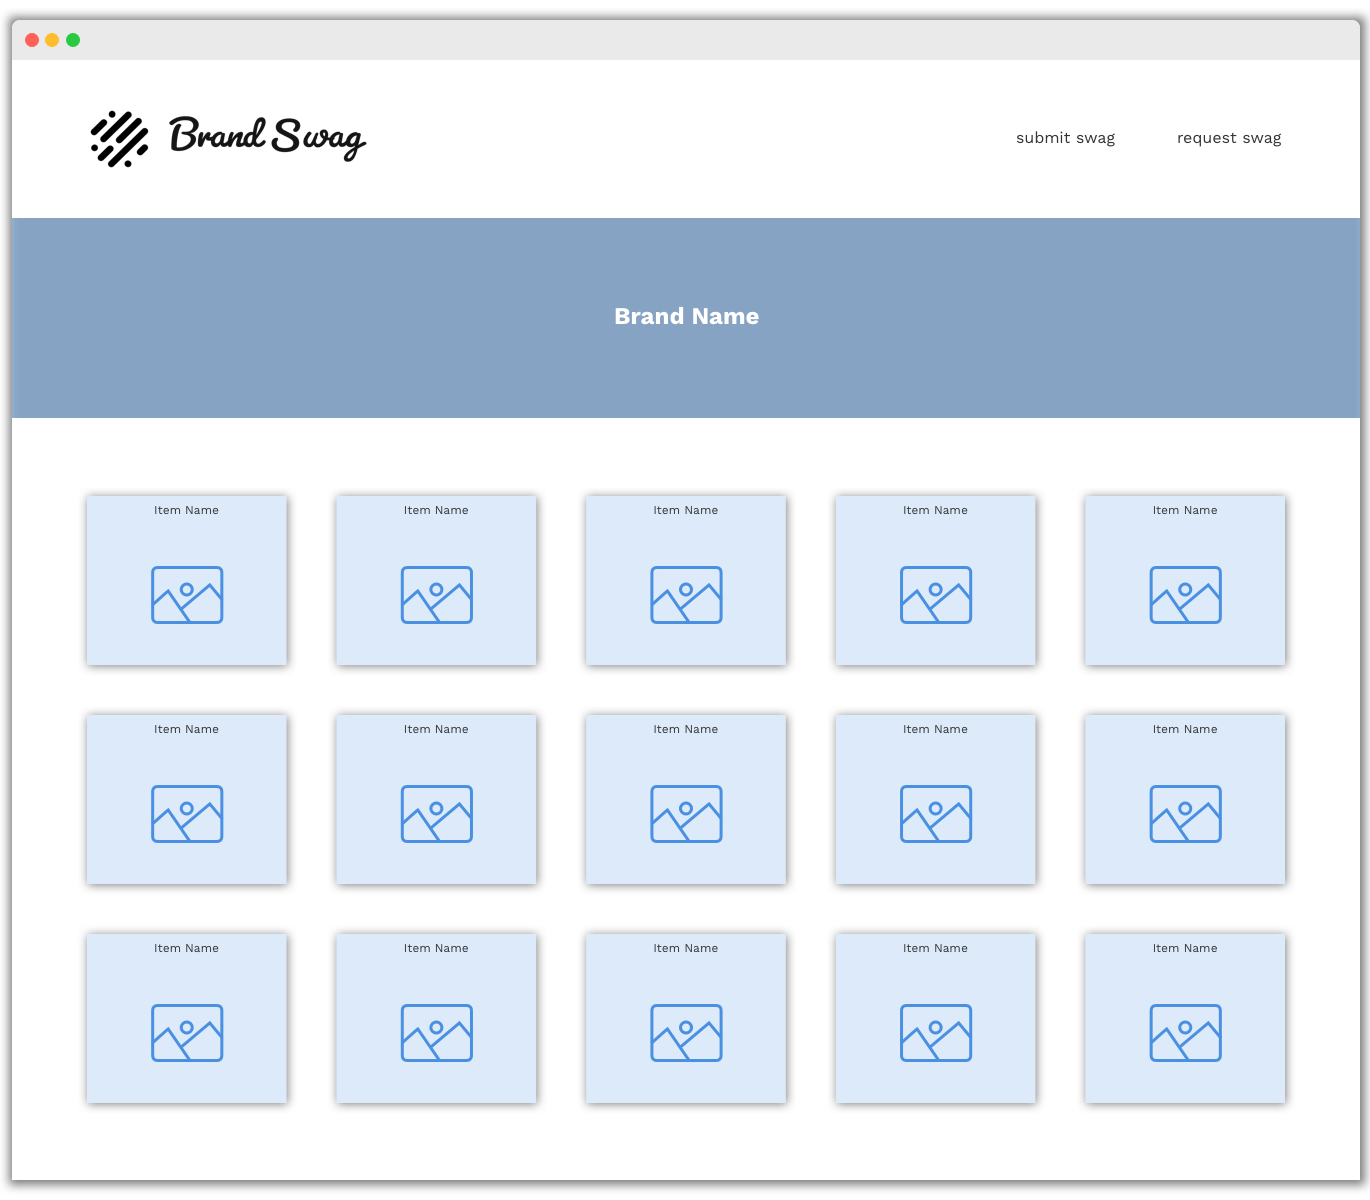
I wanted to keep the brand page design consistent with the homepage. The only two differences being the brand name and image overlay in place of the hero section and the filter options.
Cool 😎 On to development.
Development
First, I coded the designs into an HTML/CSS template, then converted it into a WordPress theme so I could easily manage the content using a familiar CMS and get some experience with custom theme development.
I used
Underscores, a hackable starter theme, as the base for the template, which allowed me to really hit the ground running.
The very first thing I did was create an MU (must-use) plugin for my custom post type - Brands, so that the post type would persist if I decided to use a different theme in the future. I also packaged the plugin into a
gist for future use.
I created a front-page.php and called a template part - content-swag.php that contained my custom post type loop.
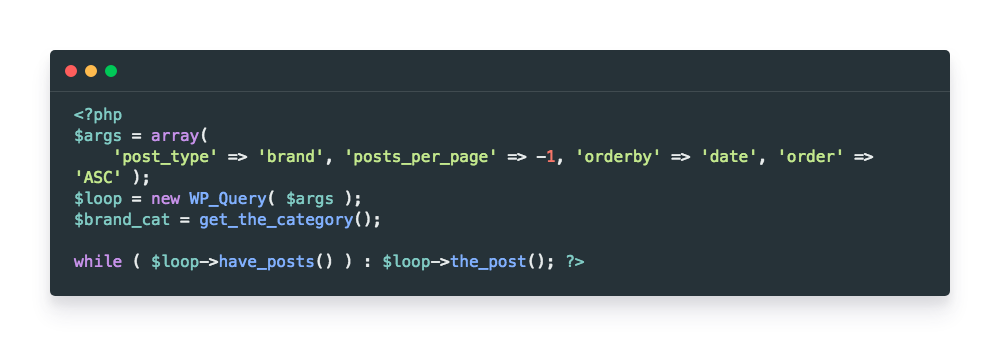
Boom 💥 The Brands post-type were now on the homepage.
Now onto the single brand view. My intitial thought was to create another post-type - "Items", and somehow link them with the respective "Brand". This seemed far too messy. So I installed
ACF Pro instead and created a repeating field - "Brand Items" for the Brand post-type.
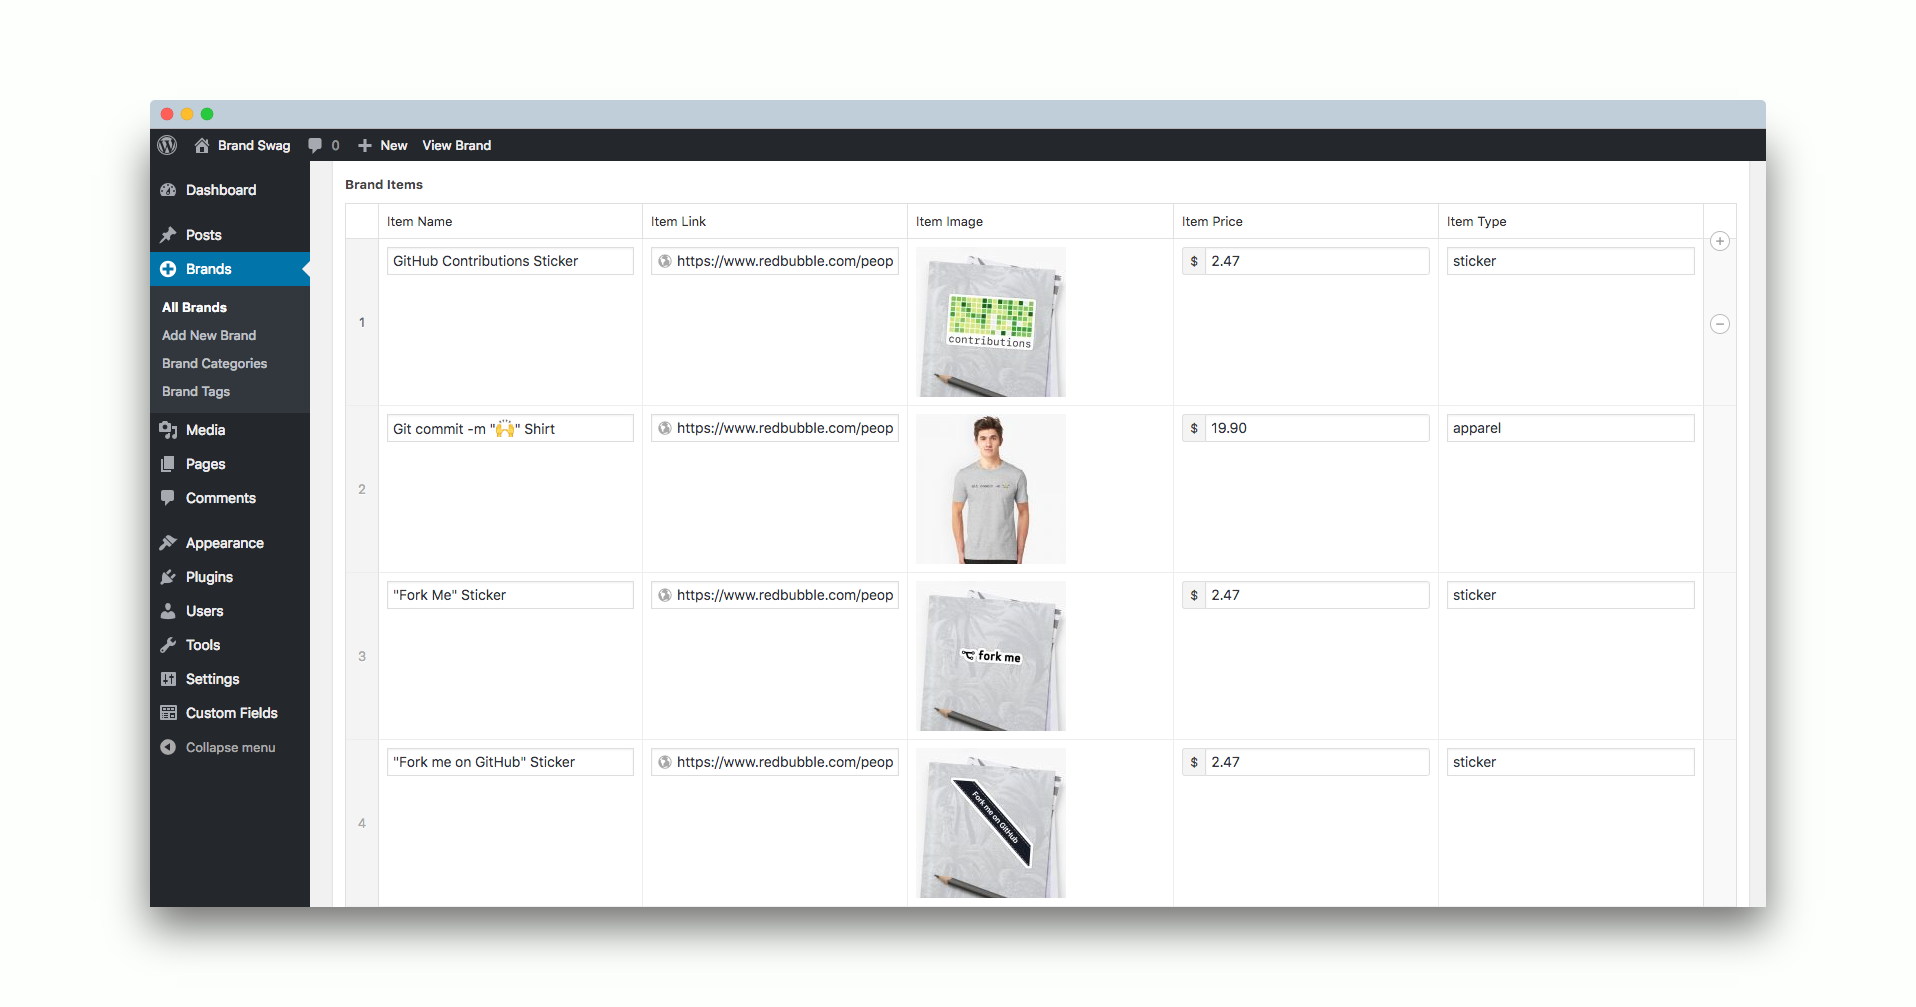
Muuuch easier 😍
I thought I might want to write blog posts on this site in the future, so I opted not to customize the single.php view, and created single-brand.php
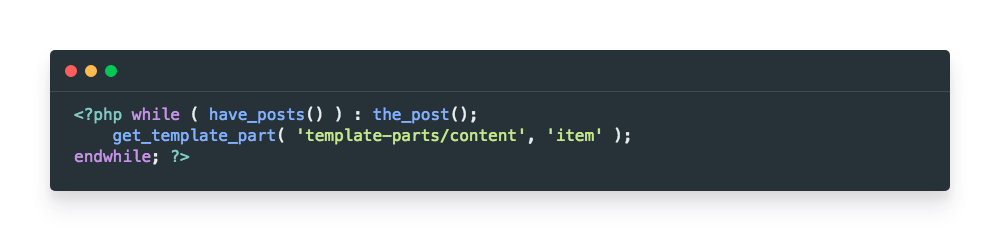
which - like the homepage - initiated a post loop contained in a template part - content-item.php
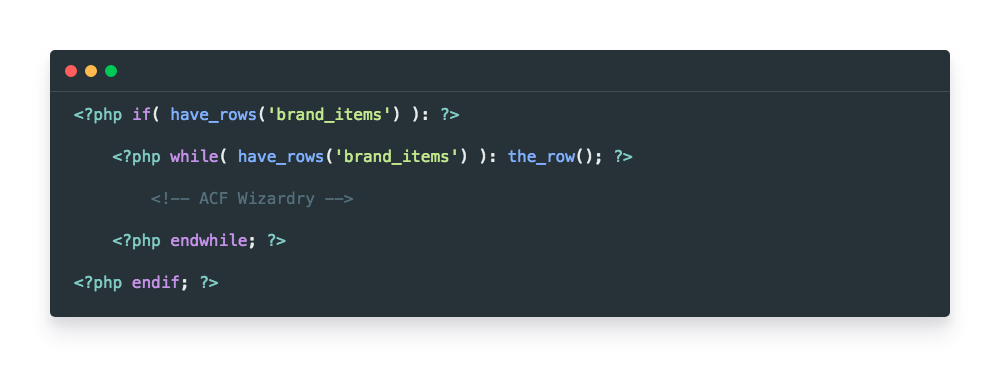
After initializing some ACF magic inside the loop, we have our Brand post-type views.
For the filter functionality, I opted to cowboy code some standard jQuery.
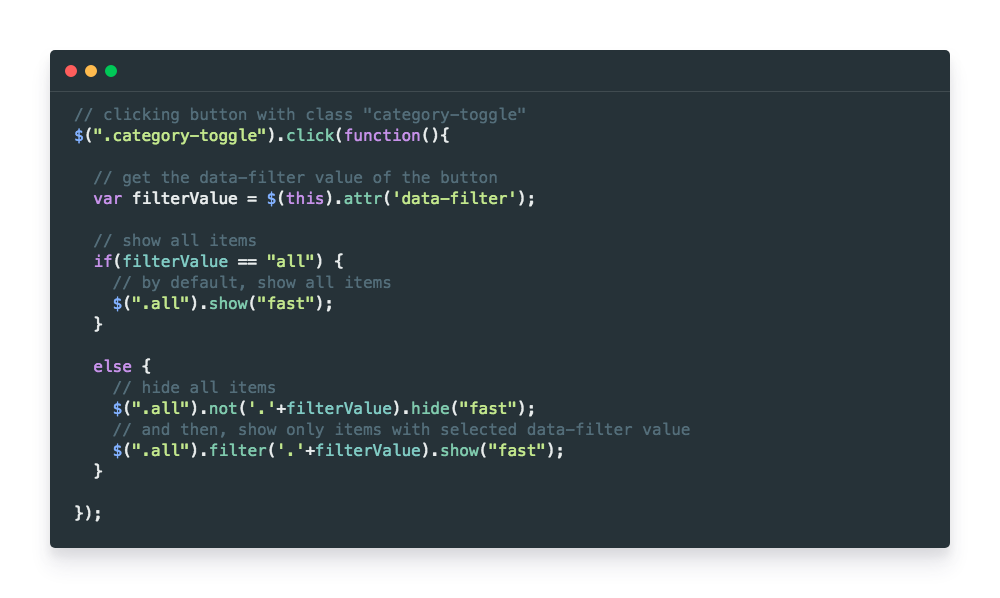
I gave all of the filter options the "category-toggle" class and all of the grid items the "all" class. Then, I added "data-filter" attributes to the filter options.
The "all" option has data-filter="all", and the rest of the filter options have the respective Brand Category as the data-filter.
For example, "dev" has a data-filter of "brand_category-dev", "design" has "brand_category-design", etc.
Then, in my brand post loop on the homepage, I added

to the article tag in the loop. This achieved two things:
1. It adds the "all" class to each post, &
2. WordPress automatically adds the category as a class to each post in the loop.
So all I had to do was assign a Category to each Brand Post and the filtering would work its magic.
I used a similar method for the single brand view filtering, but with one difference. I removed the WordPress classes, added the ACF attribute "item_type" to the class list

and changed the "data-filter" attributes of the filter options in the header to match the ACF values.

IT'S ALIIIVE! Time to deploy this bad boy.
Deployment
The live WordPress installation is hosted on Digital Ocean using Server Pilot to manage the application, with the theme hosted on
GitHub.
The theme is managed locally in a WordPress development enviroment setup using WPDistillery.
When I make changes to my local theme files, I test in my development environment, push them to GitHub, merge the branch, and then SSH into my server, navigate to my theme directory, and pull down the changes.
Next Steps
1. Mobile responsiveness 2. Continuous Integration
3. Fix an
issue where if there's no brand items under one of the filter options, the sticky header with the options is hidden, causing the user to have to refresh the page to see the items again.
4. Setup staging environment?
5. Migrate away from WordPress?
Follow along with my progress
here.
Check out the live site
here.
Need help with your project? Send me an
email or a
DM on Twitter.